

Introduction to Student Visa Photo Requirements
When applying for a student visa, a high-quality digital image is crucial. It serves as a key component of your application, ensuring your identity is clearly presented and recognized by the reviewing authorities. Failing to meet the required standards can lead to delays or rejection.
“The quality of your photo can make or break your visa application.”
This article provides a detailed guide on meeting these photo requirements. From technical specifications to common mistakes, we cover everything you need to ensure your photo passes scrutiny.
Technical Specifications
Pixel Dimensions
For your student visa photo, the dimensions must maintain a square aspect ratio, ensuring the height equals the width. The image should be between 600 x 600 pixels and 1200 x 1200 pixels to meet the required standards.
File Format
The photo must be saved in the JPEG file format. This is a universal format widely accepted and ensures compatibility with most systems. The file should be less than or equal to 240 kB, so you might need to compress the image if it exceeds this size, keeping the compression ratio at 20:1 or less.
Image Resolution
Your image should be in color with 24 bits per pixel, using the sRGB color space, which is standard for most digital cameras. If you are scanning an existing photo, ensure it measures 2 x 2 inches and is scanned at a resolution of 300 pixels per inch.
| Aspect | Requirement |
|---|---|
| Dimensions | 600 x 600 to 1200 x 1200 pixels |
| File Format | JPEG, ≤ 240 kB |
| Color and Resolution | 24 bits, sRGB, 300 ppi (scanned) |
Adhering to these specifications is crucial for a successful visa application. Double-check these details before submission to avoid any potential delays or rejections.
Size and Background Color Requirements
Adhering to the size and background color requirements is crucial for your student visa photo to be accepted. The photo must be in color, with the head sized between 1 inch and 1 3/8 inches, or 50% to 69% of the image’s total height. This ensures your photo accurately reflects your current appearance and meets official guidelines.
Accepted background colors are strictly limited to plain white or off-white. This standard helps maintain uniformity and ensures there are no distractions in the image.
- Do use a plain white or off-white background.
- Don’t use patterned or colored backgrounds.
- Do ensure the background is free from shadows or textures.
Following these guidelines closely will help you avoid common pitfalls and ensure a smooth application process.
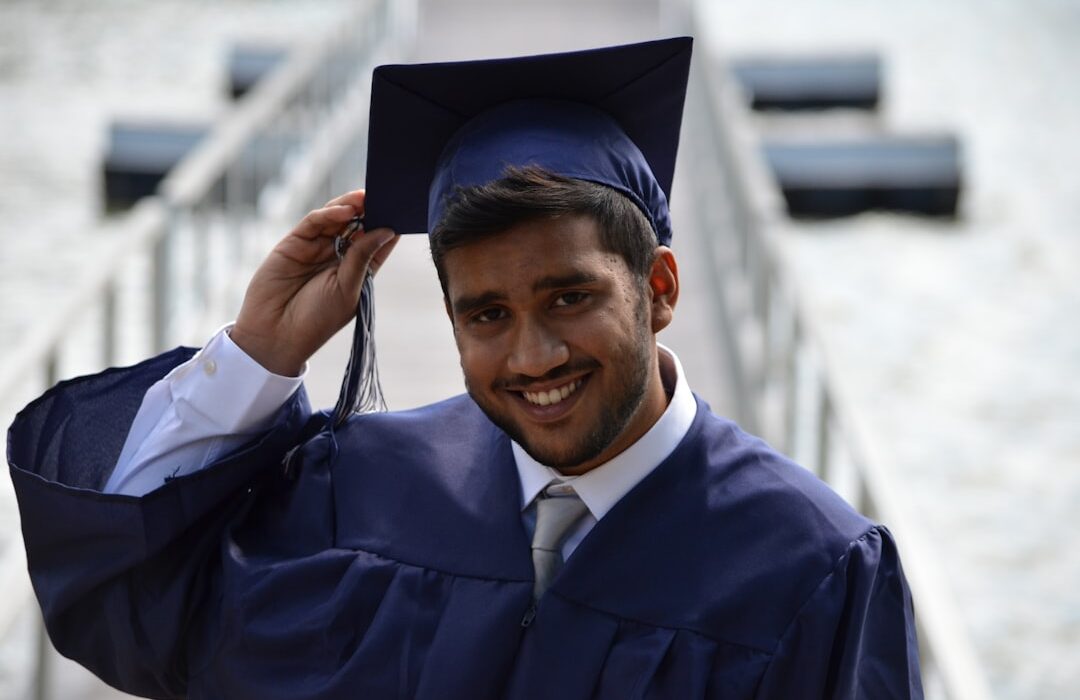
Facial Expression and Attire
Maintaining a neutral facial expression is essential for your student visa photo. This means keeping both eyes open and avoiding smiles or frowns. A neutral expression ensures that your photo accurately represents you and meets the visa requirements.
When it comes to attire, wearing clothing you normally wear daily is appropriate. Avoid uniforms unless they are religious garments you wear regularly. Keep in mind that hats or head coverings should not obscure your hair or hairline, except for religious purposes. Additionally, ensure your full face is visible without shadows.
Unacceptable attire includes headphones, wireless hands-free devices, and eyeglasses, unless medically necessary. By adhering to these guidelines, you enhance your photo’s chance of being accepted and streamline the application process.
Common Photo Mistakes
Submitting a student visa photo can be tricky if common mistakes aren’t avoided. Here are a few frequent errors and how to fix them:
- Blurry Images: A blurry photo may result in rejection. Ensure your image is sharp and in focus by using a tripod or a stable surface when taking the picture.
- Incorrect Lighting: Poor lighting can lead to shadows that obscure facial features. To avoid this, ensure even lighting, preferably natural light, and keep a suitable distance from the background to minimize shadows. Learn more about avoiding shadows.
- Obstructed Face: An obstructed face, whether due to hair, glasses glare, or other factors, will not be accepted. Make sure your face is fully visible, horizontally centered, and taken against a plain white background. Specific guidelines about obstruction issues and solutions can help.
By addressing these common issues, you can improve your chance of a successful photo submission.
Editing Your Photo
Editing your student visa photo is crucial to meet the specific requirements. Begin by resizing and cropping your photo to the appropriate dimensions. Visit ResizePixel.com and upload your photo. Input the required final size, such as 230kb, and click ‘Compress’ to start resizing. Once done, download the resized image.
Next, adjust the brightness and contrast to enhance the photo quality. Use editing tools like GIMP or Adobe Photoshop to access sliders for brightness and contrast. Increase both values in parallel for dark backgrounds, ensuring that contrast is half of the brightness value. This balance maintains image quality without degradation.
Finally, preview your adjustments to ensure the photo meets all requirements. Click the ‘Next’ button to save your changes. By following these steps, you can ensure your student visa photo is up to standard and ready for submission.
